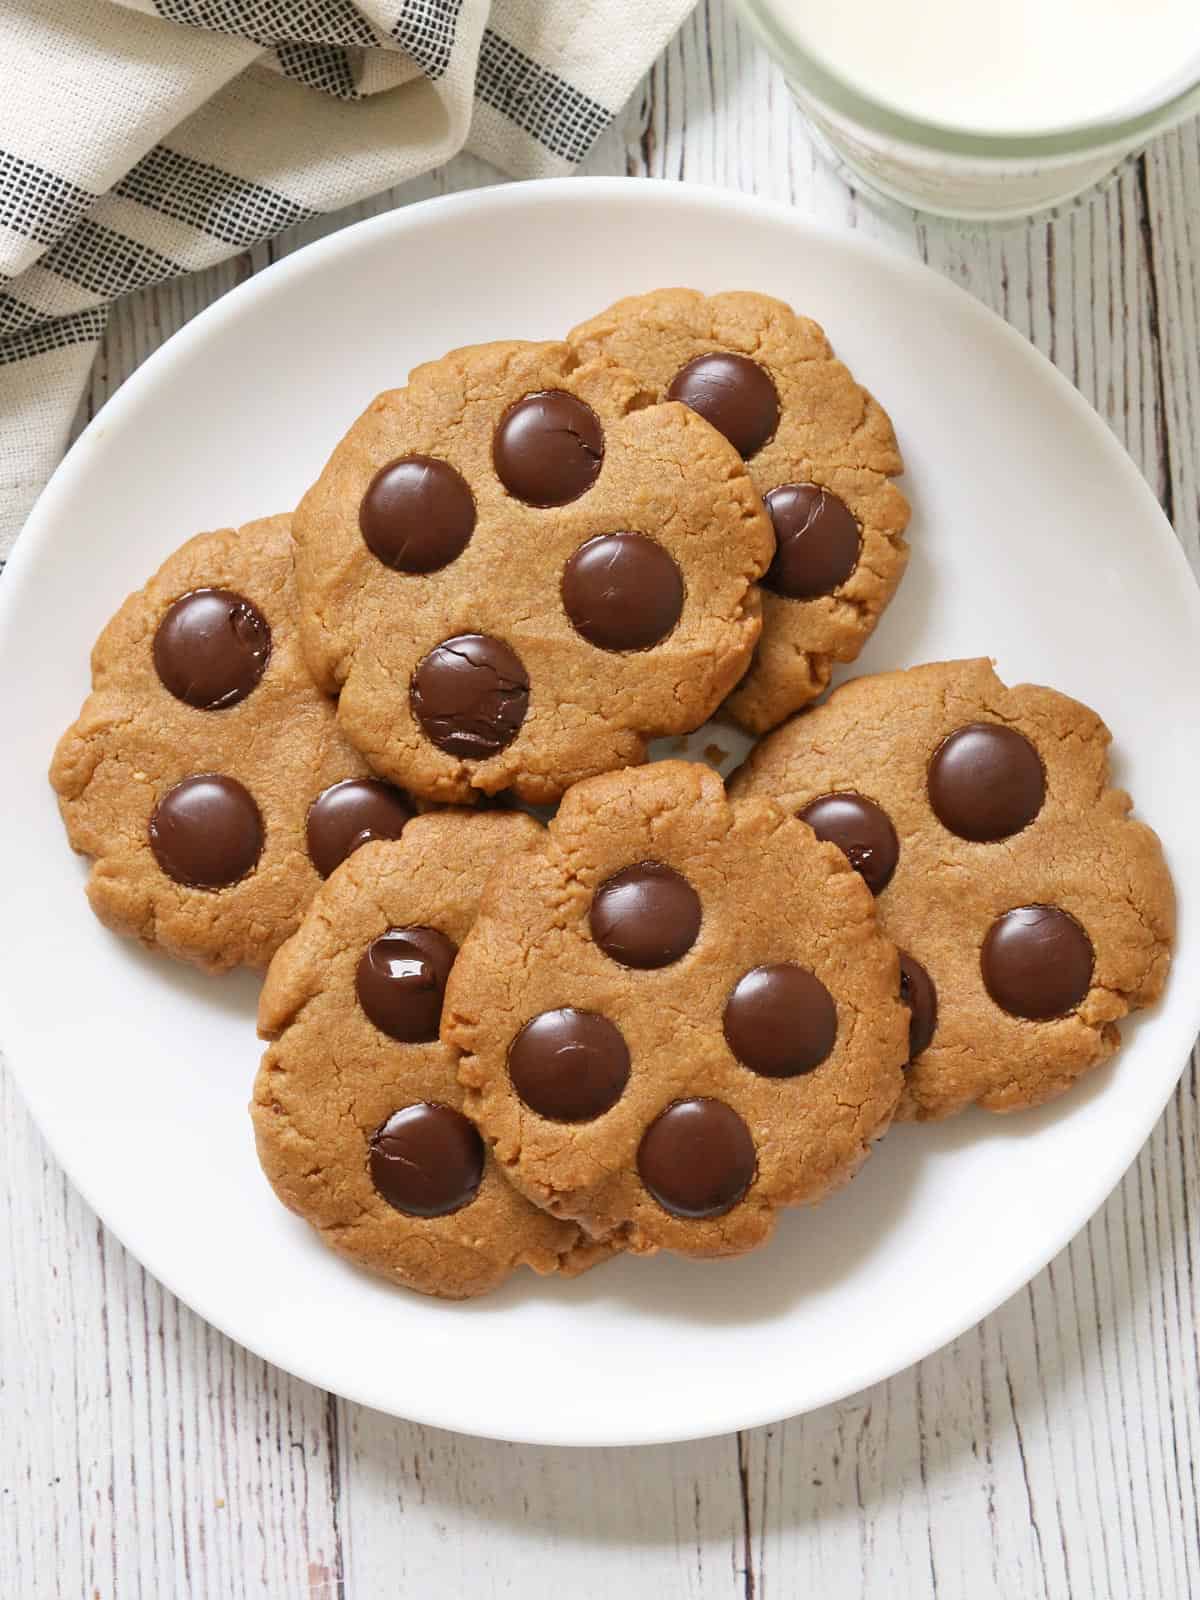
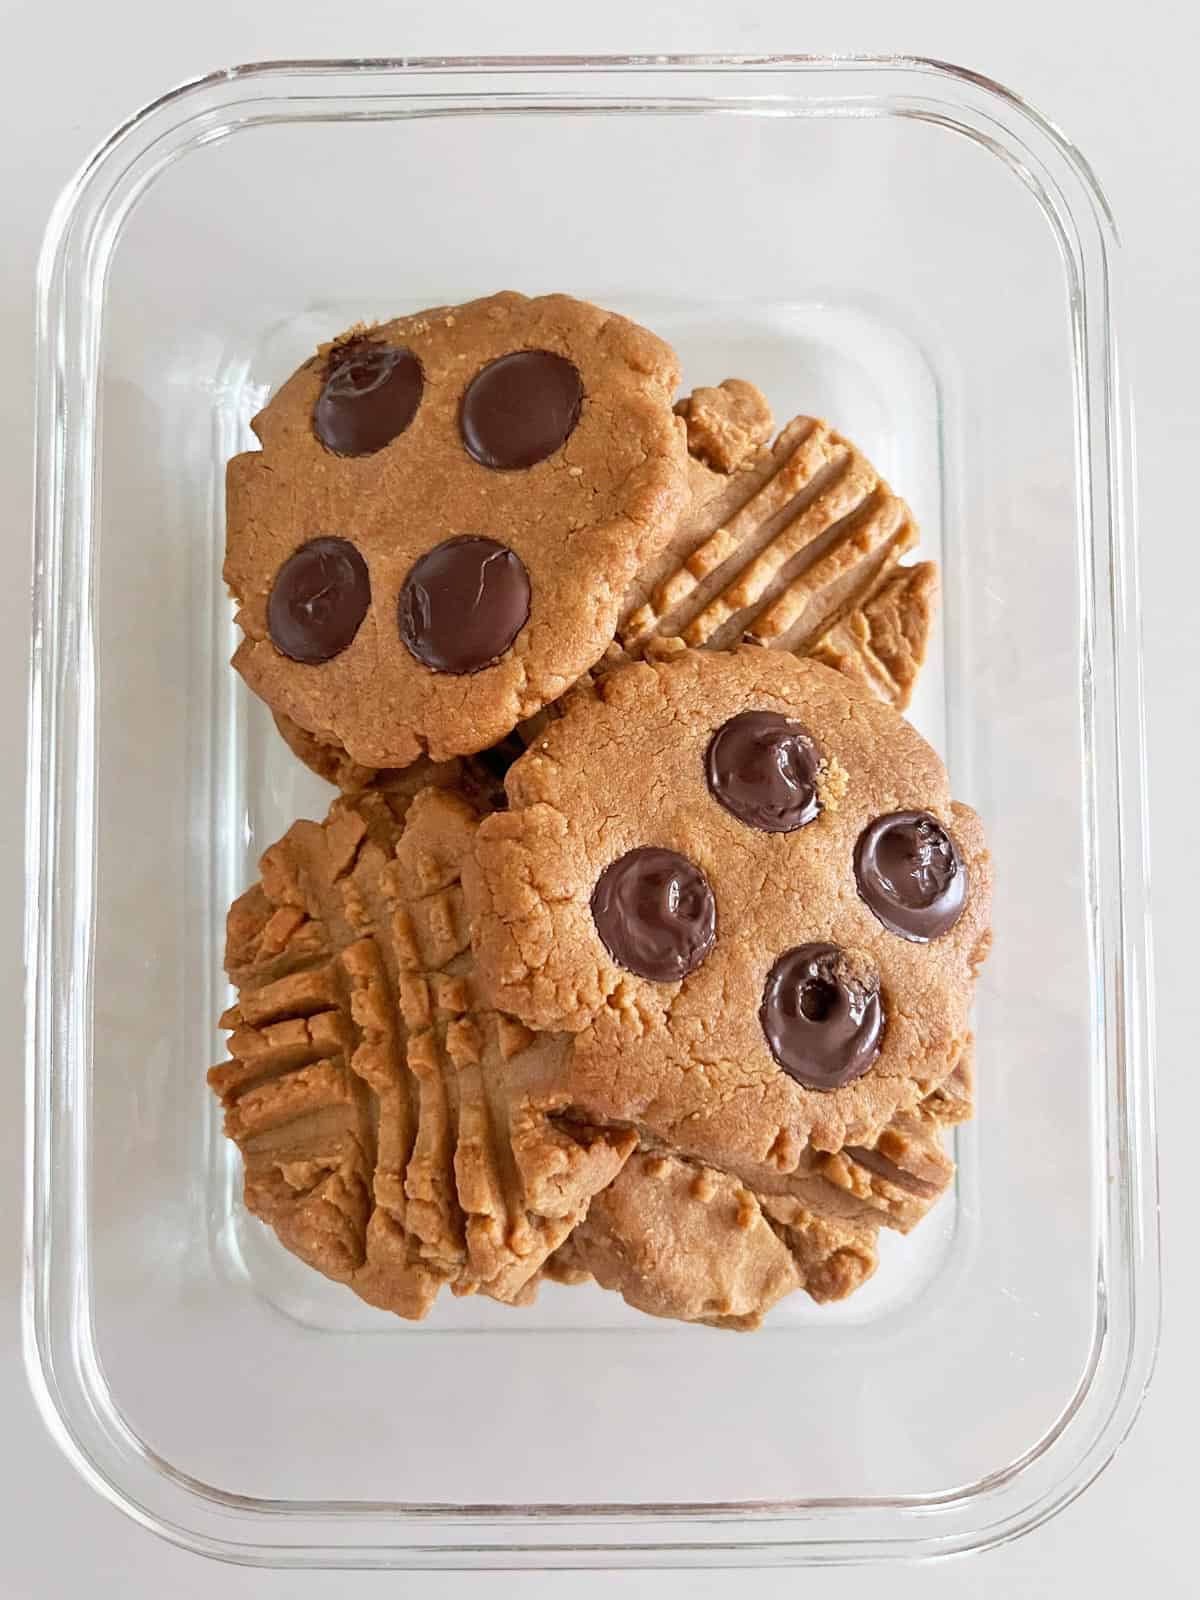
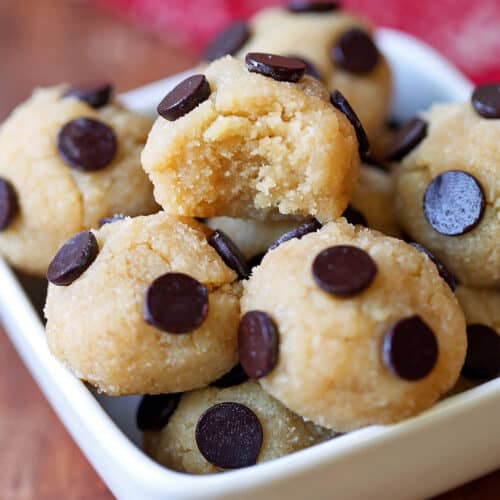
They are so wonderfully flavorful! The fact that they are flourless makes their peanut butter flavor extra concentrated. Made with just three ingredients, these cookies are incredibly good. They are sweet (but not too sweet), and their texture is just right, especially after an overnight rest. I make them with natural creamy peanut butter and a powdered sweetener to ensure a smooth texture. I like to add a few dark chocolate chips to some of them while leaving the others plain. Both versions are excellent!
Recipe Card
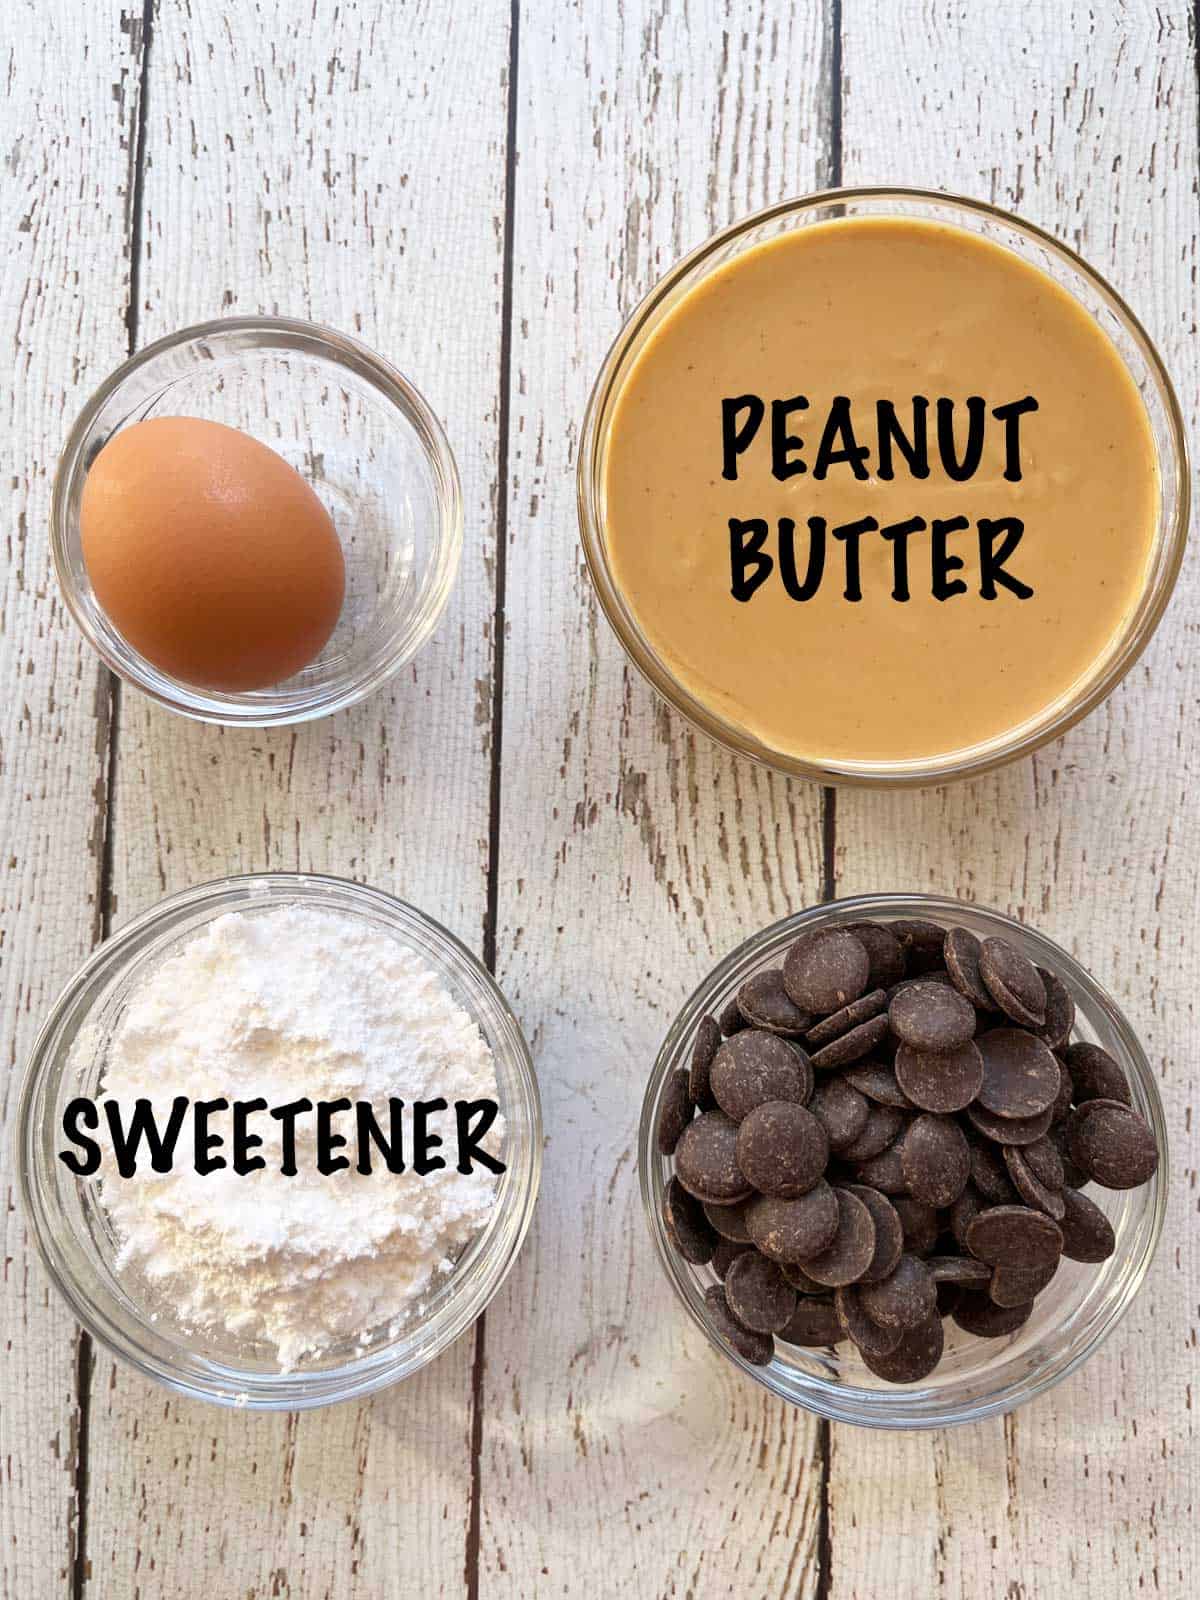
Egg: I use large eggs in most of my recipes, including this one. Powdered sugar-free sweetener: I use erythritol. Natural peanut butter: The only ingredients should be peanuts and salt. Dark chocolate chips: I like to use 85% cacao chocolate chips made by Pascha.
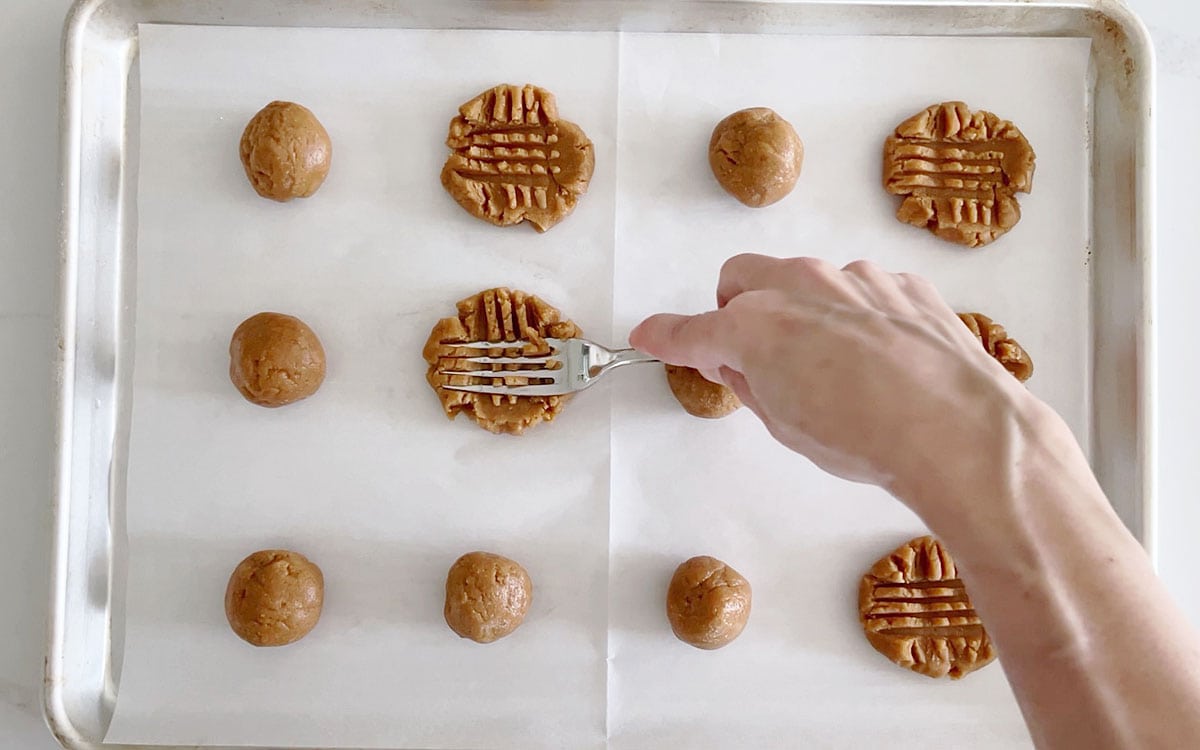
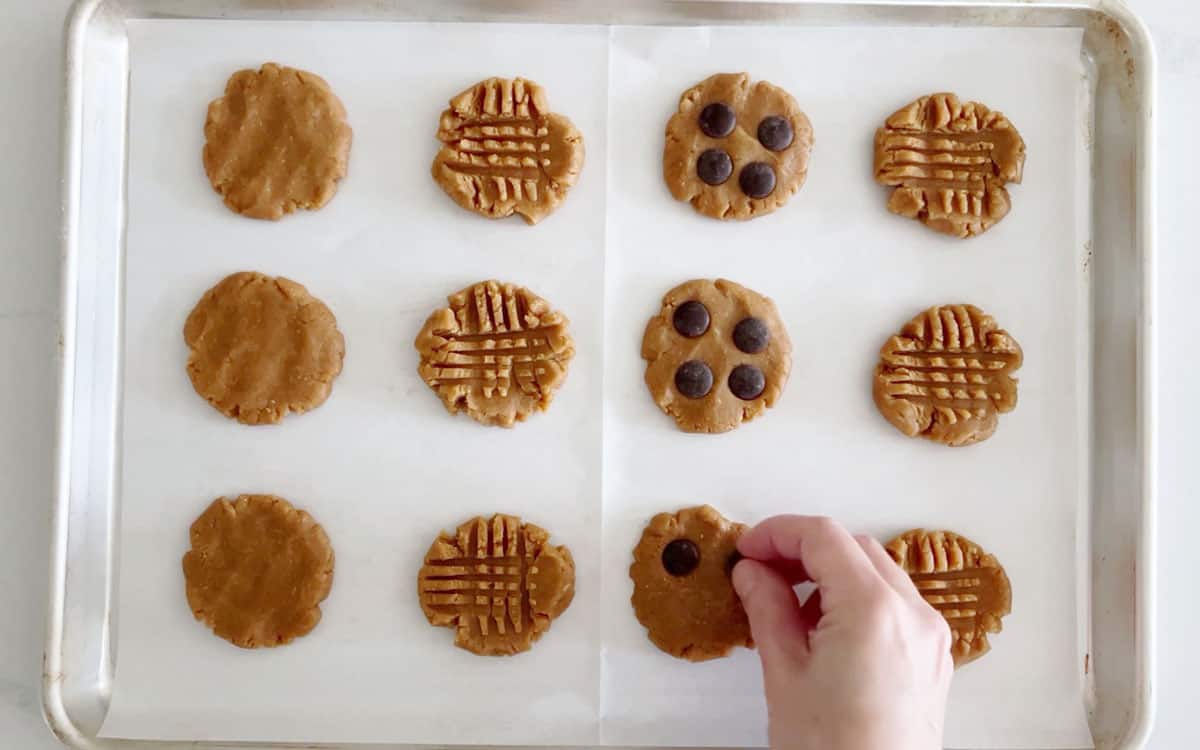
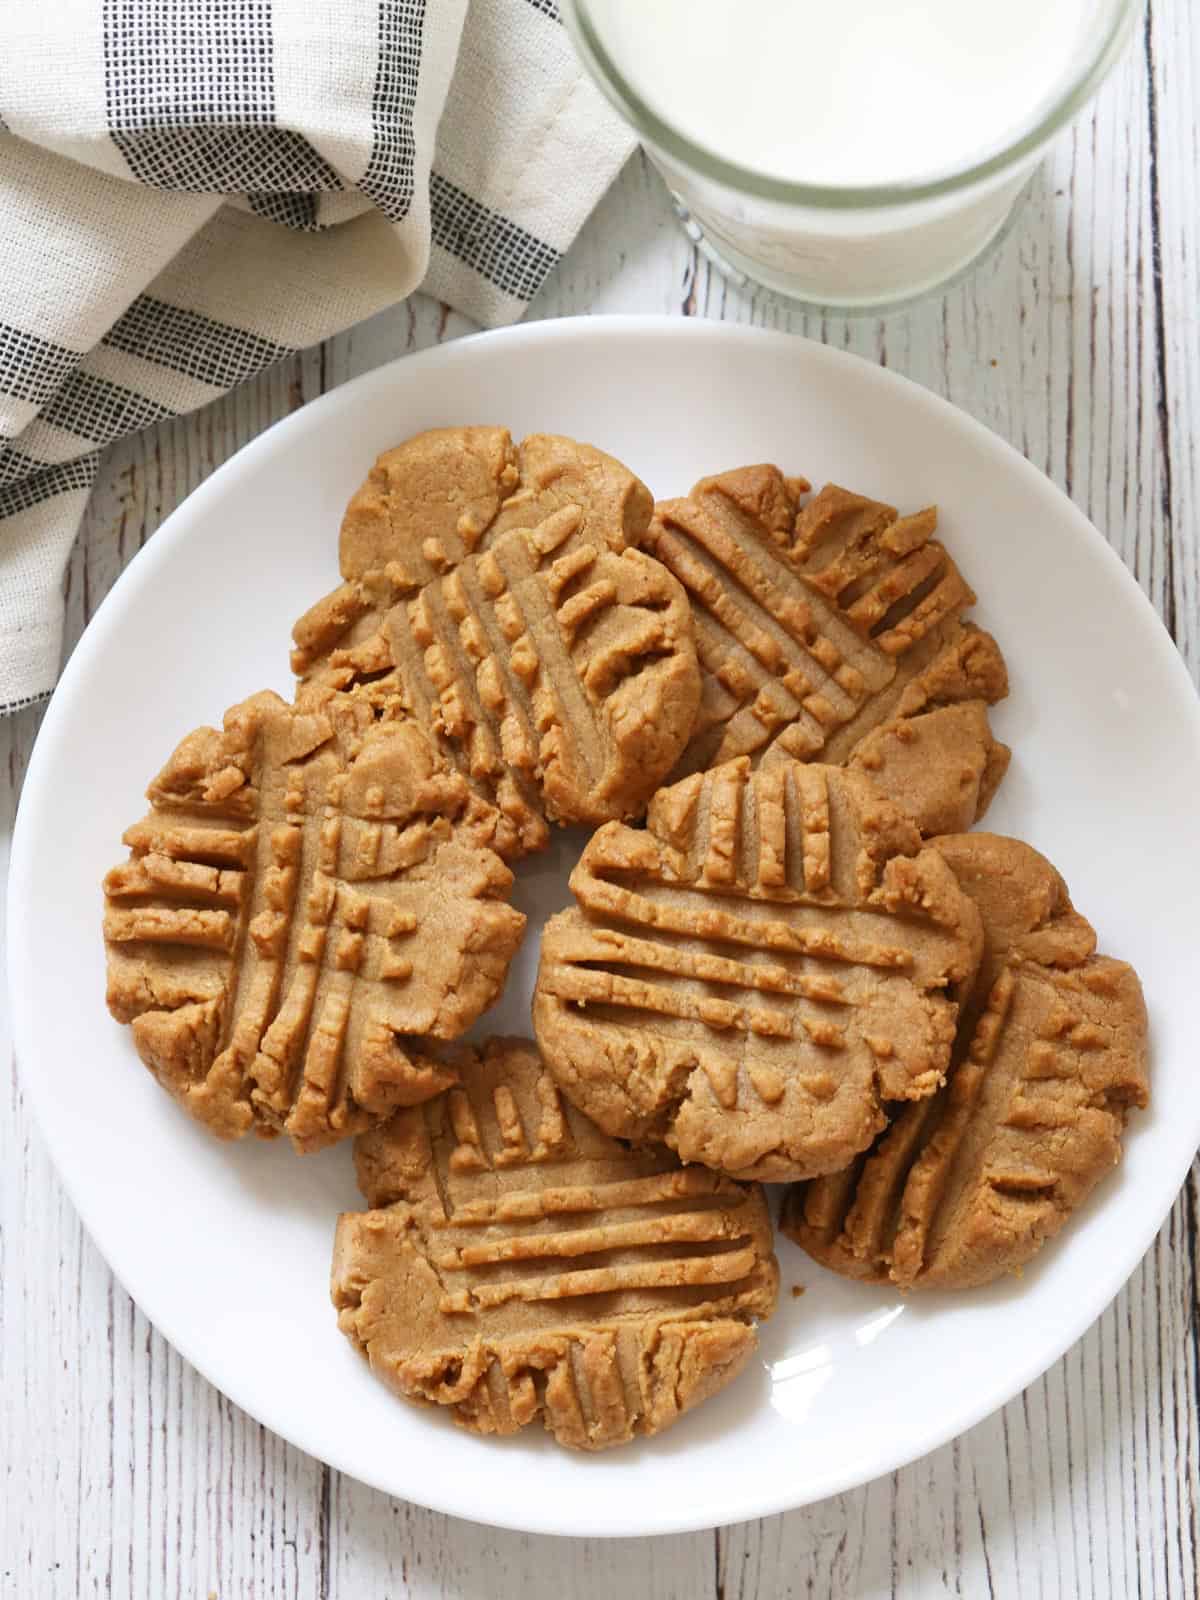
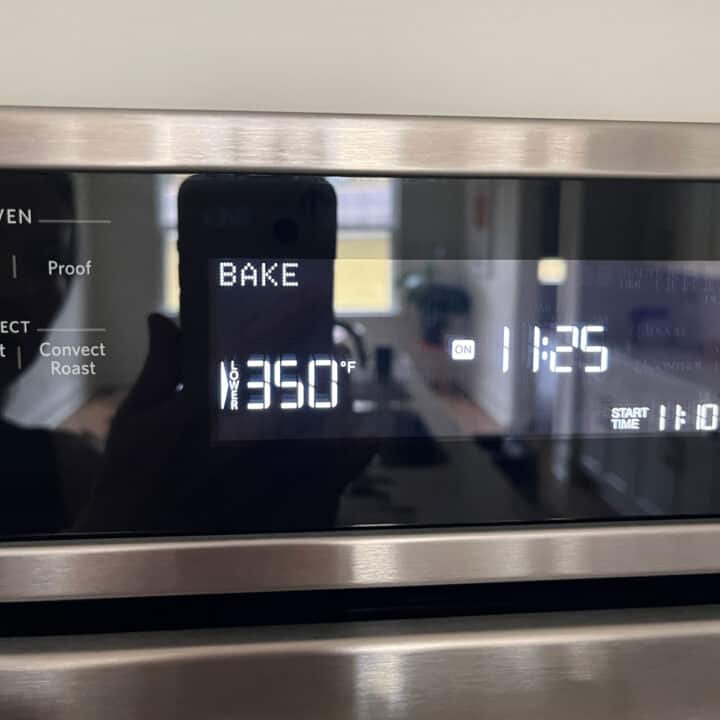
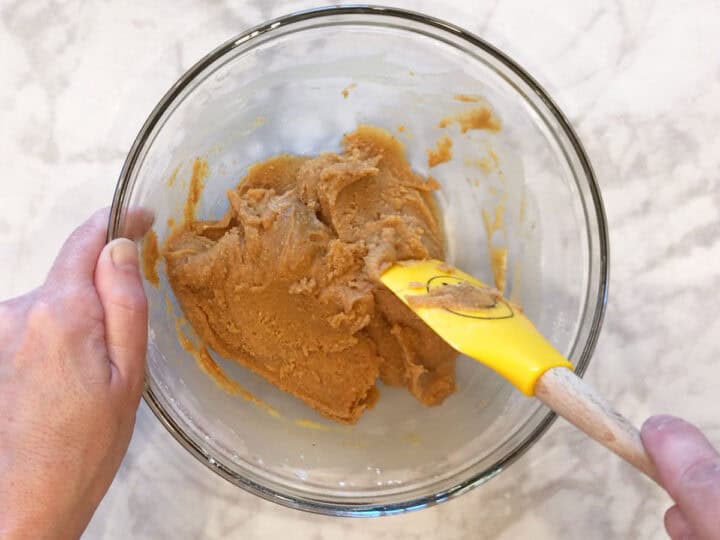
Lightly whisk an egg, then add the sweetener. Next, add the peanut butter and mix well using a rubber spatula. The mixture will be very thick - it should have the consistency of playdough. Measure 1.5 tablespoons per cookie (using a cookie scoop) and shape them with your hands into a ball. Arrange the dough balls on a parchment-lined cookie sheet. For the plain cookies, use a fork to create a crisscross pattern. Press on the dough balls with the backside of a fork, then rotate the fork 90 degrees and press again. The cookies should be about 2 inches in diameter. Bake the cookies until their edges are beginning to darken, about 15 minutes in a 350°F oven. Cool the cookies in the pan, then remove them to a cooling rack. Cool them on the cooling rack for at least 30 minutes before enjoying them. Their texture improves as they rest and cool. In fact, they are best the day after you bake them. When I make them without chocolate chips, I sometimes turn them into sandwich cookies and add a layer of keto hazelnut spread in the middle. You can also refrigerate them in an airtight container for up to a week. Remove them from the fridge 30 minutes before serving. You can also freeze these cookies in freezer bags for up to three months. If layering them, separate the layers with wax paper.